Introduction:
In many cases, guitarists turn to changing their pickups. Sometimes, they’re looking for a better guitar tone, or their old pickups are too noisy. Swapping out one guitar pickup might seem easy at first, but it’s always crucial to check the phase of the guitar pickups. In this scenario, it is important to verify the phase of the new one. This includes checking the phase of the other pickups on the guitar as well. The fundamental rule is that all pickups on a guitar must have the same phase. This means that the new pickup must be wired to align its phase with the other pickups on the guitar. Throughout the years, I have utilized various methods to identify the phase. I also create a simple tester for checking the guitar phase, which, for me, is the most convenient for this purpose. In this post, I will examine the most commonly used methods for determing the phase of any guitar pickups.
Phase Detection of a Guitar Pickup by Ear

In this case, when replacing a guitar pickup, there is a 50% chance of accurately determining its phase. The new pickup is soldered in place of the old one. If the wire colors are similar, it is assumed that the pickup might have the same phase, which is not always the case. A test of the guitar through an amplifier follows. The sound of the guitar’s switch position at which the replaced pickup and one of the existing guitar pickups operate should sound full and rich without having a highpass filter. If the sound is quieter with a lack of low frequencies, the phase is likely different. Then you have to open the guitar and swap the wires of the new pickup. This method is not particularly favorable, especially for guitars with pickguards, where you have to loosen the pickguard, unfold and remove it, desolder and resolder wires. The entire procedure takes a lot of time and may also be imprecise at times. If the guitar pickups are quite different, an inexperienced guitarist might not even notice that the pickups are working out of phase.
Determining Guitar Pickup Phase Using a Multimeter
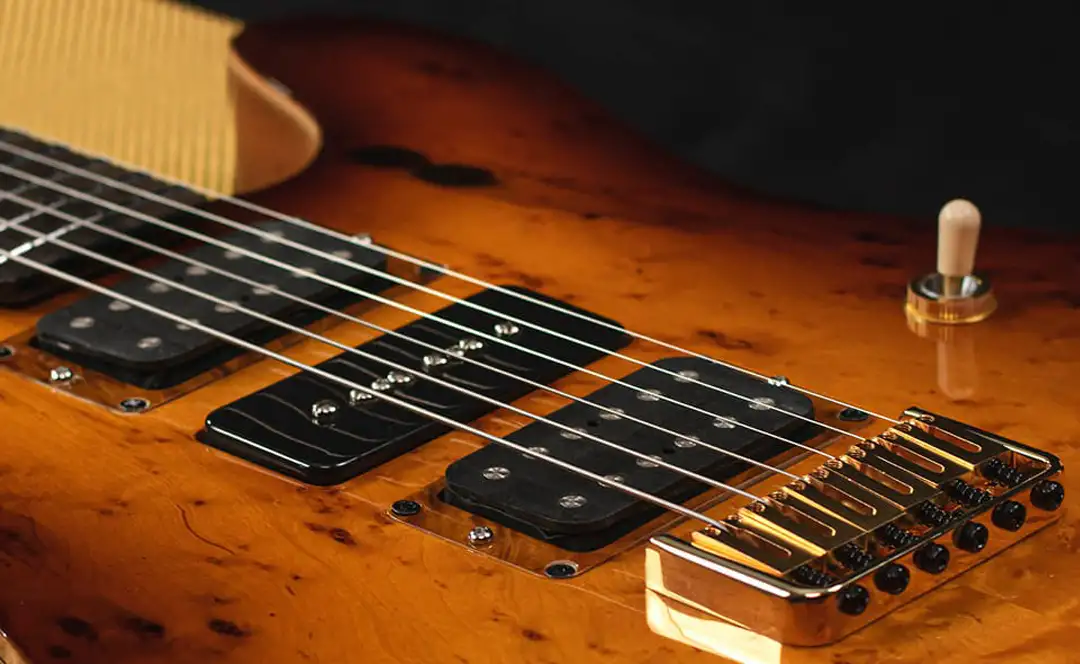
This method is used by many luthiers worldwide. You can use a digital or analog multimeter. However, using a super cheap one might not be very effective, in my view. Measuring phase is simple: Set the multimeter to resistance mode and tap the top of the pickup using a screwdriver or a metal bar. If the magnets on the pickup are visible, tap them. While tapping, observe how the value changes.
Assuming the black probe of the multimeter corresponds to the wire of the pickup soldered to the ground inside the guitar. The red wire of the multimeter, in turn, corresponds to the Hot output of the pickup. This output usually goes to the switch for changing pickups or to the potentiometer for the respective pickup.
If tapping the pickup with the screwdriver causes an increase in the resistance value displayed on the multimeter, it means the connection is in the normal phase. It is crucial to observe this change only during tapping, not when removing the screwdriver from the pickup’s magnet.
If the resistance value decreases upon tapping, the red probe displays the pickup’s hot output with the phase reversed.
Do this test on the existing pickups on the guitar. If their phase is normal, connected the new pickup in a way that maintains its normal phase. If the stock pickups have a reversed phase, connected the new pickup with the reversed phase.
As I have previously mentioned, this method is a good solution if you have a multimeter. It is useful if you grasp the logic behind determining the phase of a guitar pickup using a multimeter.
Determining Guitar Pickup Phase Using a Computer Audio Editor
One of the methods I used in the past involves utilizing an audio editor software to determine the phase. You can use your preferred audio editor. My favorite programs for this job are Cool Edit and Audacity. To accomplish this, you’ll need a computer with a sound card featuring a line or instrument input. Connect a guitar cable to the sound card and begin recording a mono track, allowing you to visualize the signal on the monitor. Attach one wire of the pickup to the Tip of the jack. Attach the other to the ground (Sleeve) of the jack on the opposite end of the cable that’s plugged into the sound card.

Tap on the top of the pickup with a screwdriver. Observe the signal on the screen. If tapping causes the signal to increase, it indicates that the wire connected to the Tip of the cable is Hot. Additionally, if the wire connected to the jack’s sleeve is grounded, then the pickup is in the normal phase. If the signal decreases when tapping the pickup, then the wire attached to the Tip of the cable signifies the reversed phase position of the pickup.
This method is highly accurate, as it directly displays the signal on the screen. The only drawback is that you need a computer with an available sound card, and setting up the entire arrangement for phase testing takes time.
Determining Guitar Pickup Phase Using an Oscilloscope
This method is much like finding a phase using a computer and sound card. Here, you connect the pickup to the test probe of the oscilloscope. The probe has two ends – ground and signal input. Typically, I make several attempts to ensure a clear view of the entire signal. I adjust the trigger, horizontal and vertical scale, and select single shot mode to clearly observe the signal shape upon tapping. Only a modern digital oscilloscope can perform this type of measurement. Similar to measuring using a sound card, here, the signal shape is visible, which certainly indicates the pickup’s phase.

A drawback is that each measurement requires time for oscilloscope setup. Additionally, digital oscilloscopes are not inexpensive instruments, and not everyone possesses one. Therefore, while this method is accurate, it is not suitable for quickly measuring the phase of a guitar pickup.
Determining the Guitar Pickup Phase with a Specialized Tester
I concluded that the best solution for determining the pickup phase is a tester that provides quick results. For this reason, I developed a device that aids not only me but also numerous luthiers, DIYers, and enthusiasts worldwide. The N-audio Guitar Pickup Phase Checker instantly detects the pickup phase. It is available for purchase as either the tester alone or with an appropriate jack cable and crocodile clips. The testing principle resembles the methods described above. If you want to read the phase of the pickups on your guitar, just plug the tester into the guitar with any guitar cable.

Tap to the pickup with a screwdriver, and the tester displays the phase. The tester features two LEDs – green, indicating normal phase, and red – reversed phase.
Just like in the above methods for phase detection, it’s important to know that the correct phase is indicated only during tapping. When removing the screwdriver from the pickup, it’s normal to observe the reversed phase. The first illuminated LED shows the correct phase! If neither LED lights up upon tapping, the pickup is an open circuit.
For this method, there’s no need to memorize anything. You don’t require a multimeter, computer, or oscilloscope at hand. Measurement is the fastest among all other methods, and the cost of this tester is quite reasonable, in my opinion.
I hope this article has assisted anyone who has decided to replace their guitar pickups. It aims to help you find the most suitable way to determine the phase of the pickups.
Final Thoughts:
The phase test is crucial when changing guitar pickups. Regardless of your preferred method, always verify the phase alignment of all the guitar pickups when you’re finished to ensure everything is in phase. Also, remember to check the phase when splitting a humbucker and play a few chords to confirm everything sounds good.